zPix™ 300 – MM-940
I was asked for my appraisal of this microscope over on the Stampboards forum so I thought I would post it here too.
This is a USB handheld microscope that connects to your PC (I’m using Windows 10) or Mac and displays it’s images on your screen.
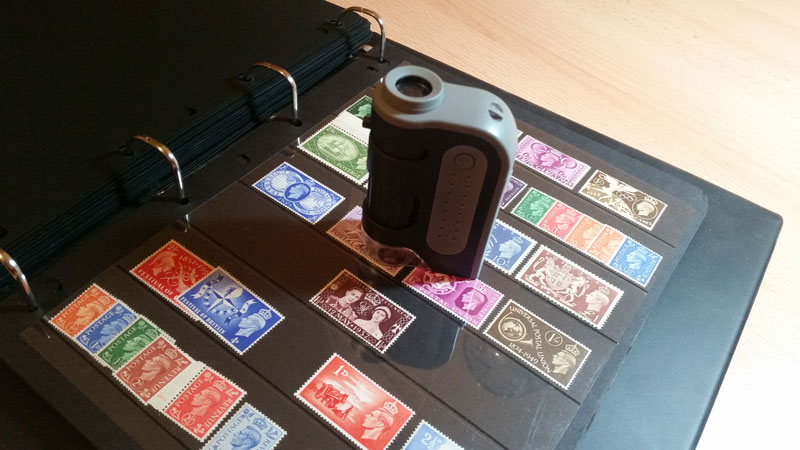
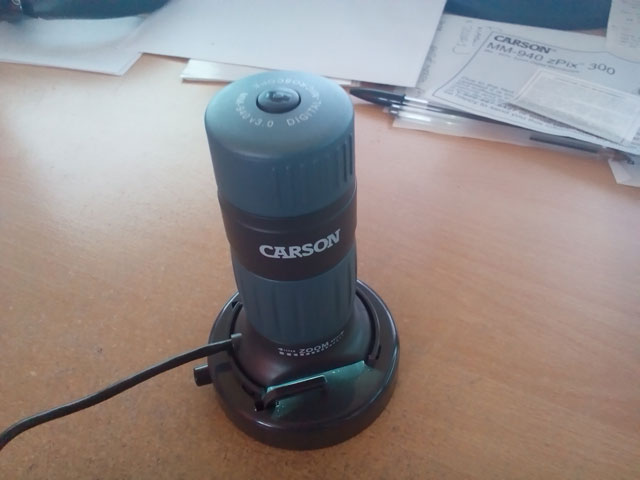
First a couple of photos so you can see what it looks like and get an idea of the size.
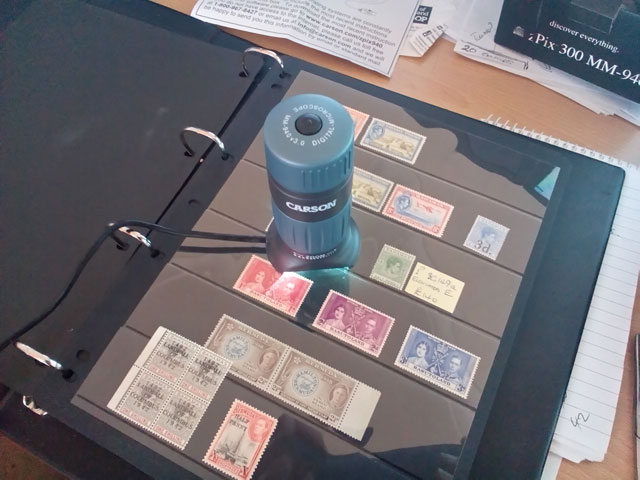
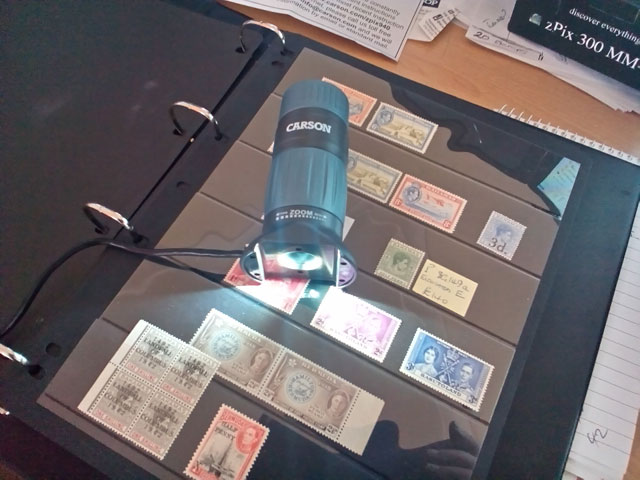
It has four bright white LEDs to light up the subject. It can also be attached to a little stand that holds things firmly, like for viewing slides….
The first thing I found was that it was much easier to move around than the other types that are a sort of stumpy cigar shape. The device is more stable and easier to handle than those.
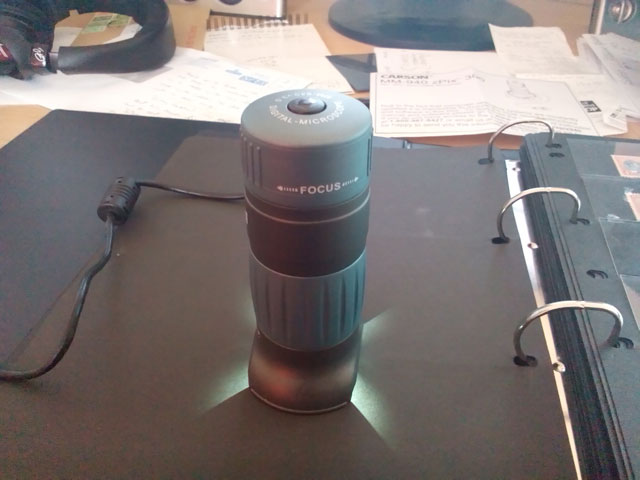
Focus and zoom are easier to change too. The bottom ring zooms you in and the top ring focuses. There is a button on top to take a photo. Taking a photo is easier on a solid surface as pressing the button tends to push down on the microscope and mess with the focus a little – if you are using it in an album like I was. Or just press down while you are focusing and then take the shot. Or you could use the little stand if you don’t mind taking more time.
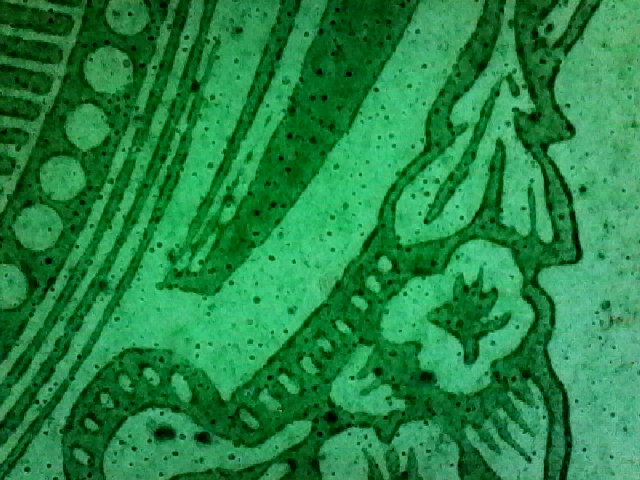
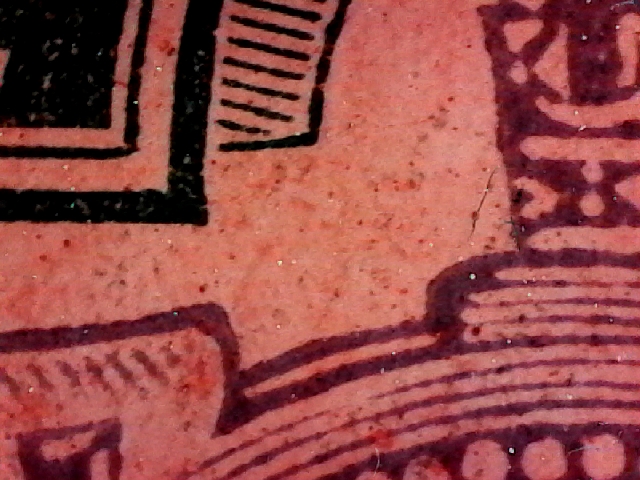
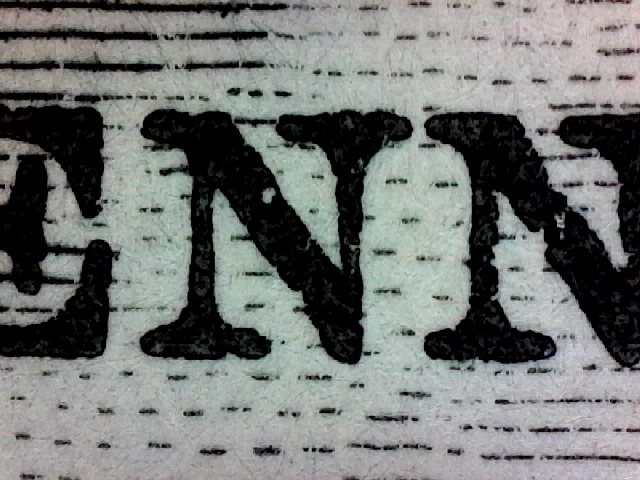
You can also set the image resolution in the app that comes with it (downloaded from their site) from 160 x 120 up to 1600 x 1200. I found that the higher resolutions do slow the device down though and the image takes longer to update on the screen compared to the lower resolutions. It just tends to lag a bit. Had this been USB 3 (which I tested and it didn’t seem to be) it might have been better, but actually it’s not a huge problem. I settled on using 640 x 480 in the software to start with, these are some images taken at that resolution. The zoom for these was set at the lowest level.
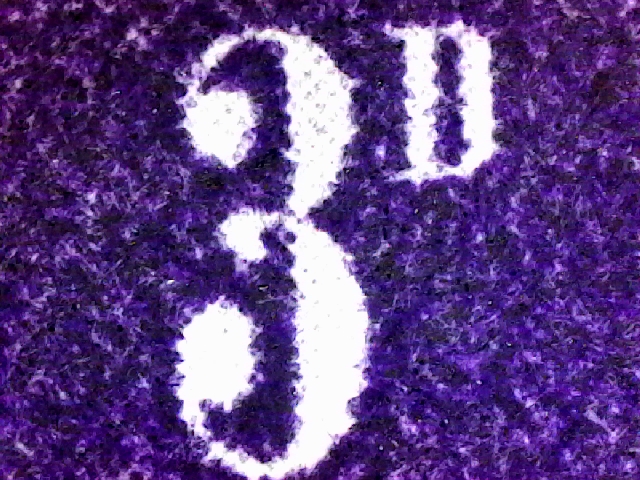
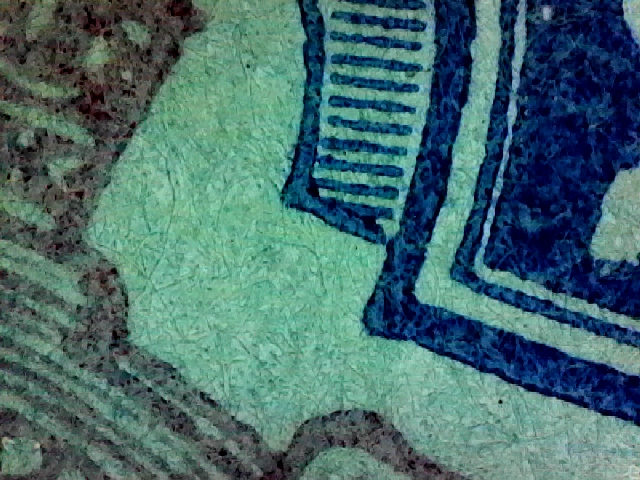
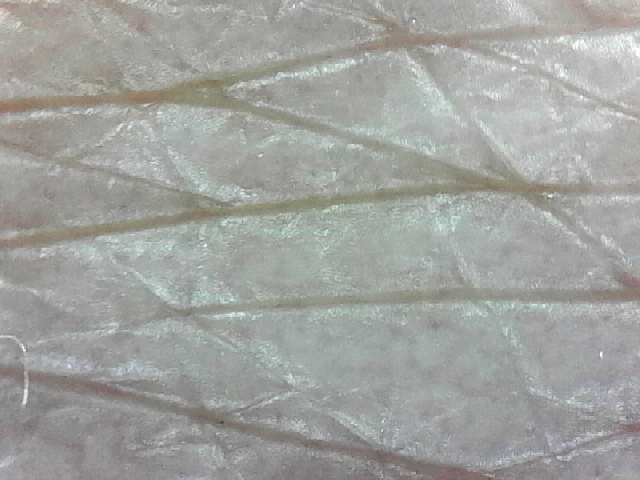
You can see a great deal of detail and the image is pretty sharp – these two are likely to be chalk surfaced stamps. As you can see the associated pits really stand out. Not visible to the naked eye. Do note that during the war and some time later, substitute papers were used that look just like chalk surfaced – I am still researching this.
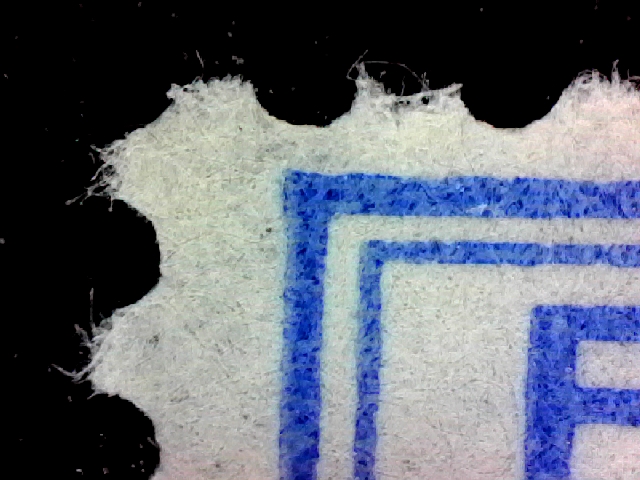
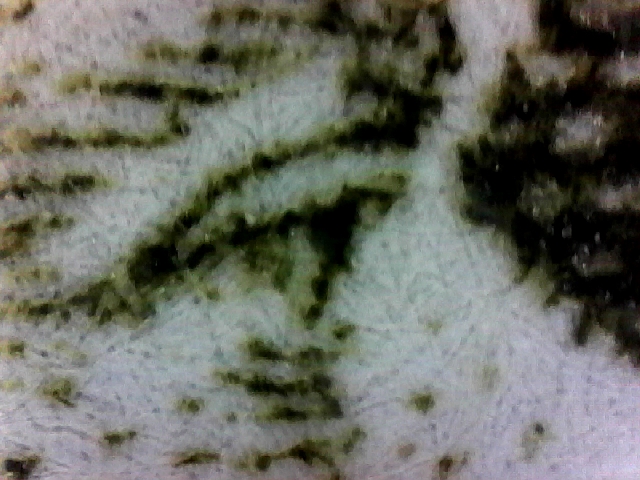
This one is normal paper I think, showing fibre and no pits.
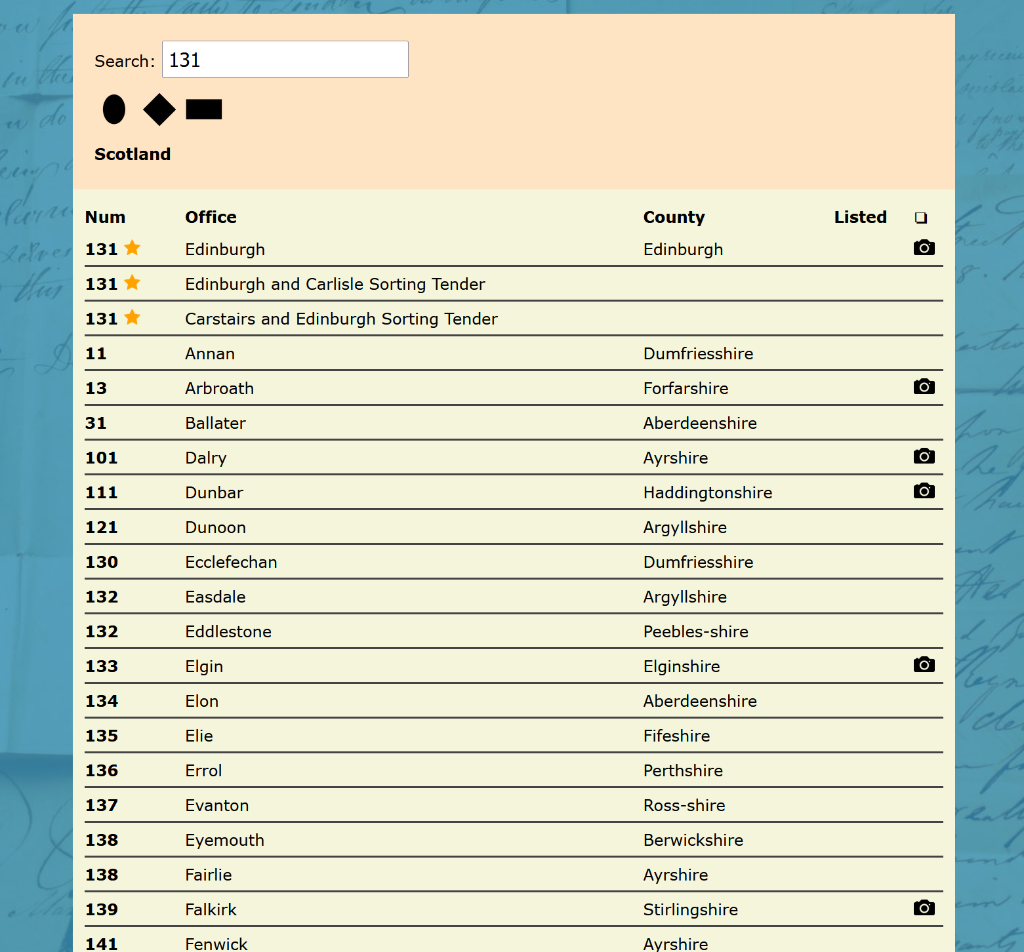
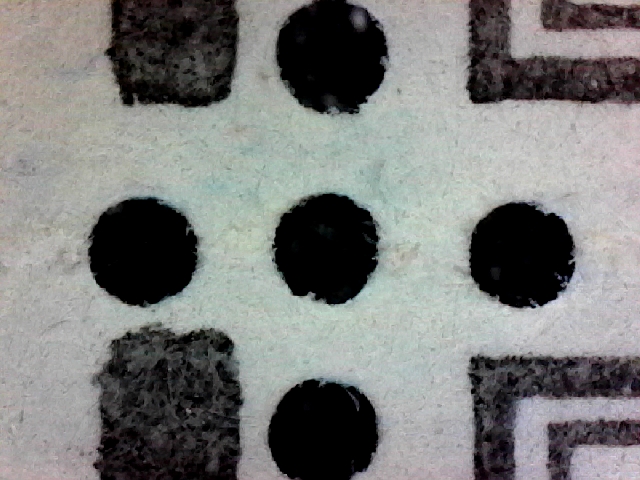
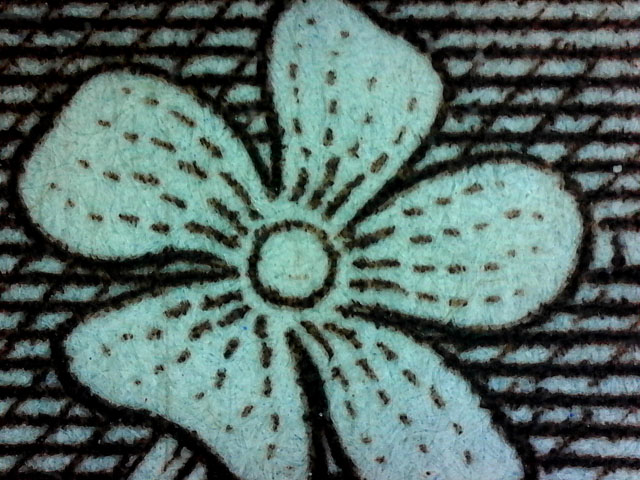
The lowest zoom of the device is really quite close. These following three images show stamps taken at the lowest level of zoom too. So if you want big images of a whole stamp, or large parts of it, then you are still best to use a scanner or camera. But this is ideal for checking details, and gliding the device over stamps is easy to do – I kept mine on stock cards so that the stamp is still protected.
These next three show images of stamps taken by setting the resolution (in the app) to 1600 x 1200. I have reduced the dimensions of these to fit the forum. Like I mentioned above the screen image updates slower, so for quickly examining a stamp a lower resolution might be the way to go.
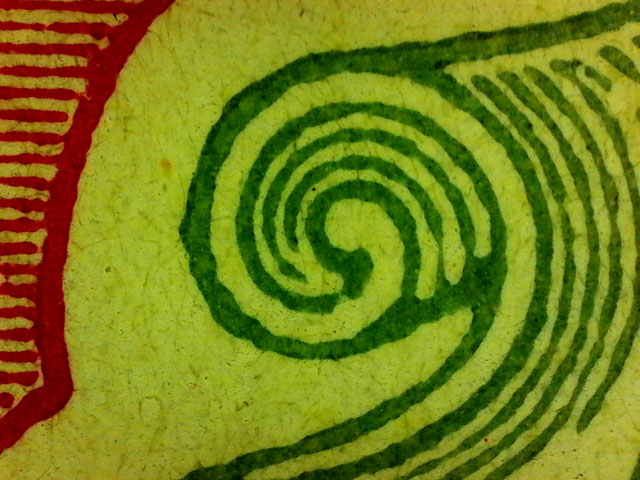
Colour is really quite good too and the images are clear once you focus.
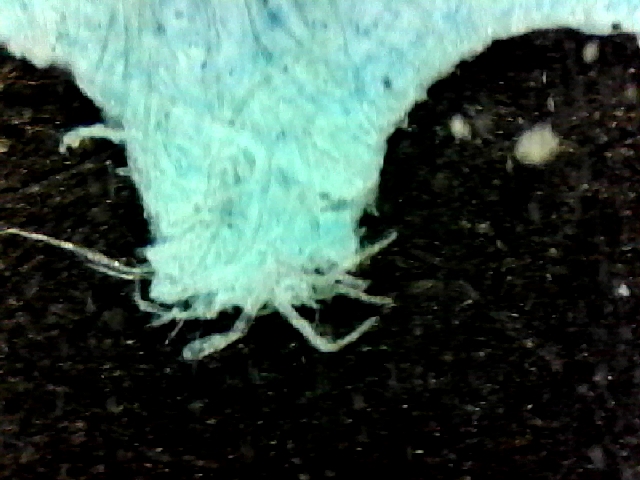
Here’s one of the skin on my arm.
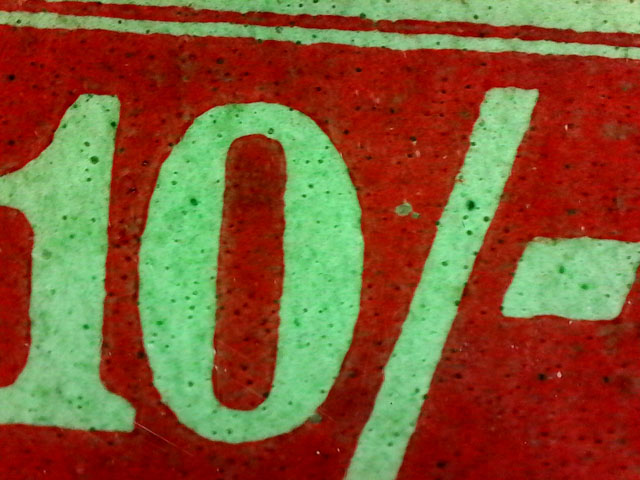
And here’s one with the microscope zoomed in nearly full on a perforation. I found it a bit trickier to focus at this level but this could probably be improved upon with some practice.
And George VI’s eye zoomed in quite full too…
In summary I think this is a great little microscope and it’s well built. I paid £42 at Amazon for it and feel it was worth the cost. The image clarity is much better than the cheap cigar shaped one I had before and it is easier to use. You get clear and detailed images in a short time, so saving having to wait for a lengthy high dpi scan, but I did find it best to work at the lower end of the zoom for clarity. For whole stamp images I would use a scanner.